Friday, March 26, 2021

Saving seed from White Mountain Cabbage Collards


We grew White Mountain Cabbage Collards from Southern Exposure Seed Exchange for the first time this past fall.  The vigorous plants produced lots of large dark green leaves into winter.  But as the coldest days of winter set it, some variegation started to appear as white bleached stems on the green leaves.  It was really pretty and didn't change the taste.  As spring came on and we let them go to save seed from them, the color show really took off.  Gorgeous!

Thursday, March 25, 2021

Low-tech transplant production

 We talk of building a greenhouse someday.  For our 17 years of farming, though, we've done without.  Maybe it's because the way we start transplants works good enough, is affordable, and is the low-tech homegrown way we strive for on our farm.  (Or maybe that's just what we tell ourselves because we don't know any better.)  Here's an overview:
 

Seeds are started in open plastic flats filled with our composted cow manure/sawdust near a south facing window (but not altogether even in the light of that window) in an upstairs room that gets warmer than the rest of the house.

Once the seeds germinate, they are moved out to our freezer cold frames for sunlight.  There is a wooden frame in each freezer that the flats rest on, bringing them closer to the top.  Below the flats are square 4 gallon buckets filled with water to provide extra thermal mass for buffering nighttime temperature swings. 

  While the freezer cold frames work really well to keep the seedlings warm during the day and comfortable at night when they're closed, we've learned a few things over the years.  First, we need to be around to adjust as needed.  If the sun suddenly pokes through on an otherwise overcast day, the glass needs to be moved to give some ventilation or the temperature can quickly rise too high.  Since the plants are sitting so close to the glass, there's not much temperature buffer once it gets sunny.  On windy days, it can be a bit tricky to balance enough ventilation without the plants getting too much air movement.
 Unlike the first freezer in the picture above, we think it's best to saw through the freezer hinges and completely remove the lid.  Otherwise, the underside of the lid, which is plastic, will degrade in the sun and fall apart prematurely.


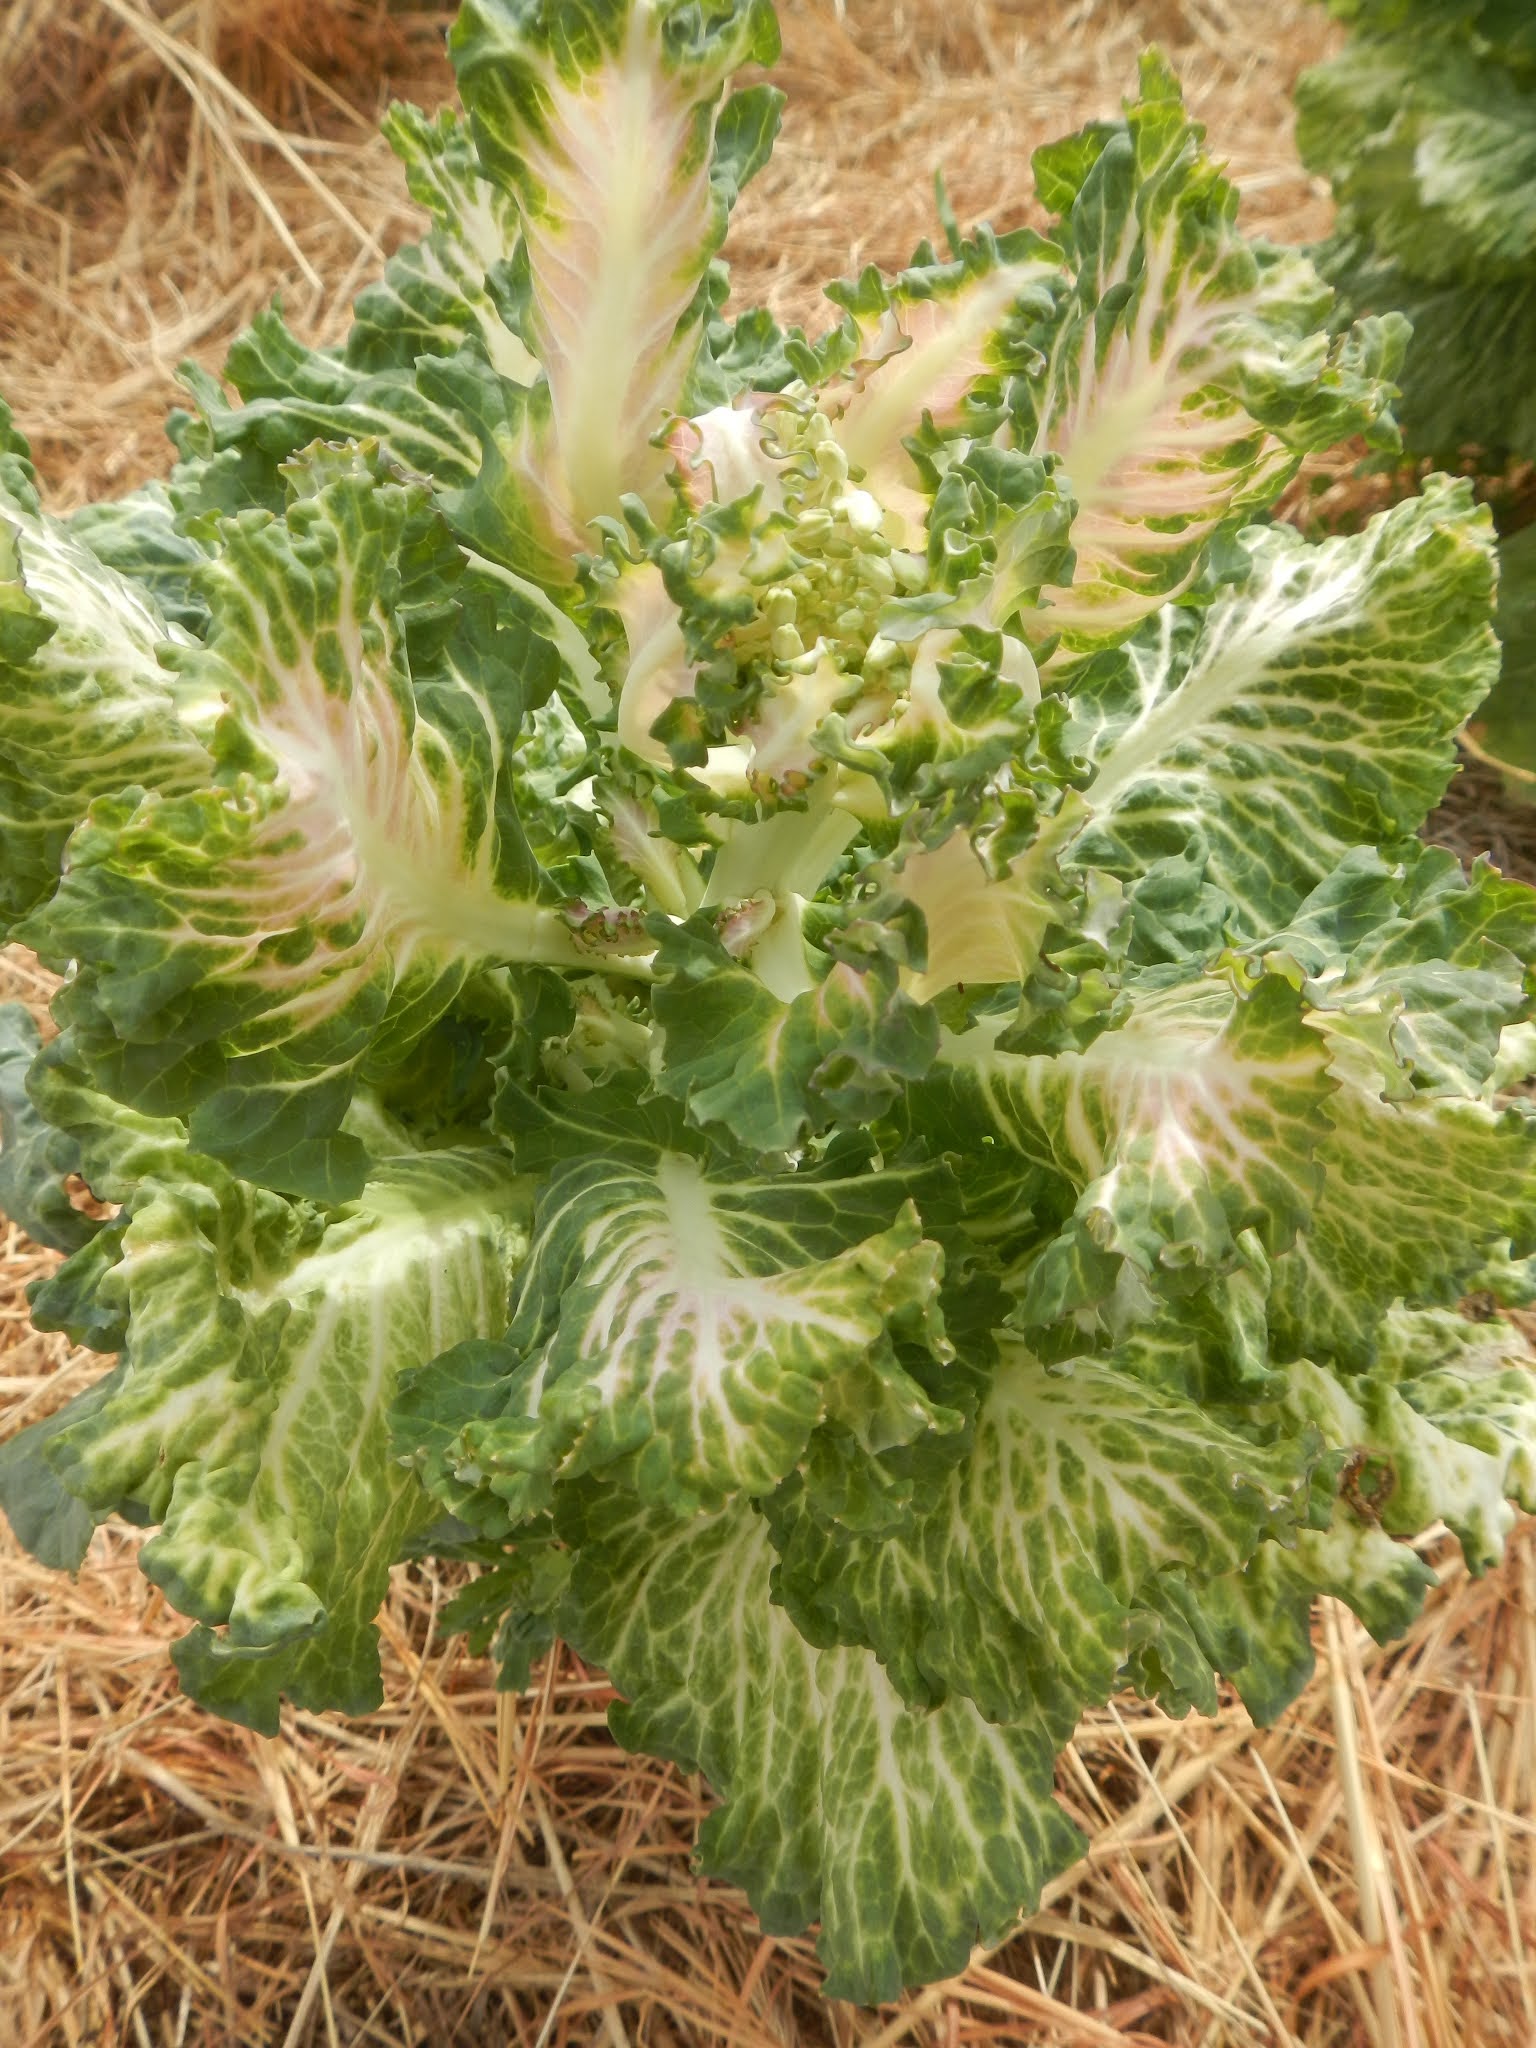
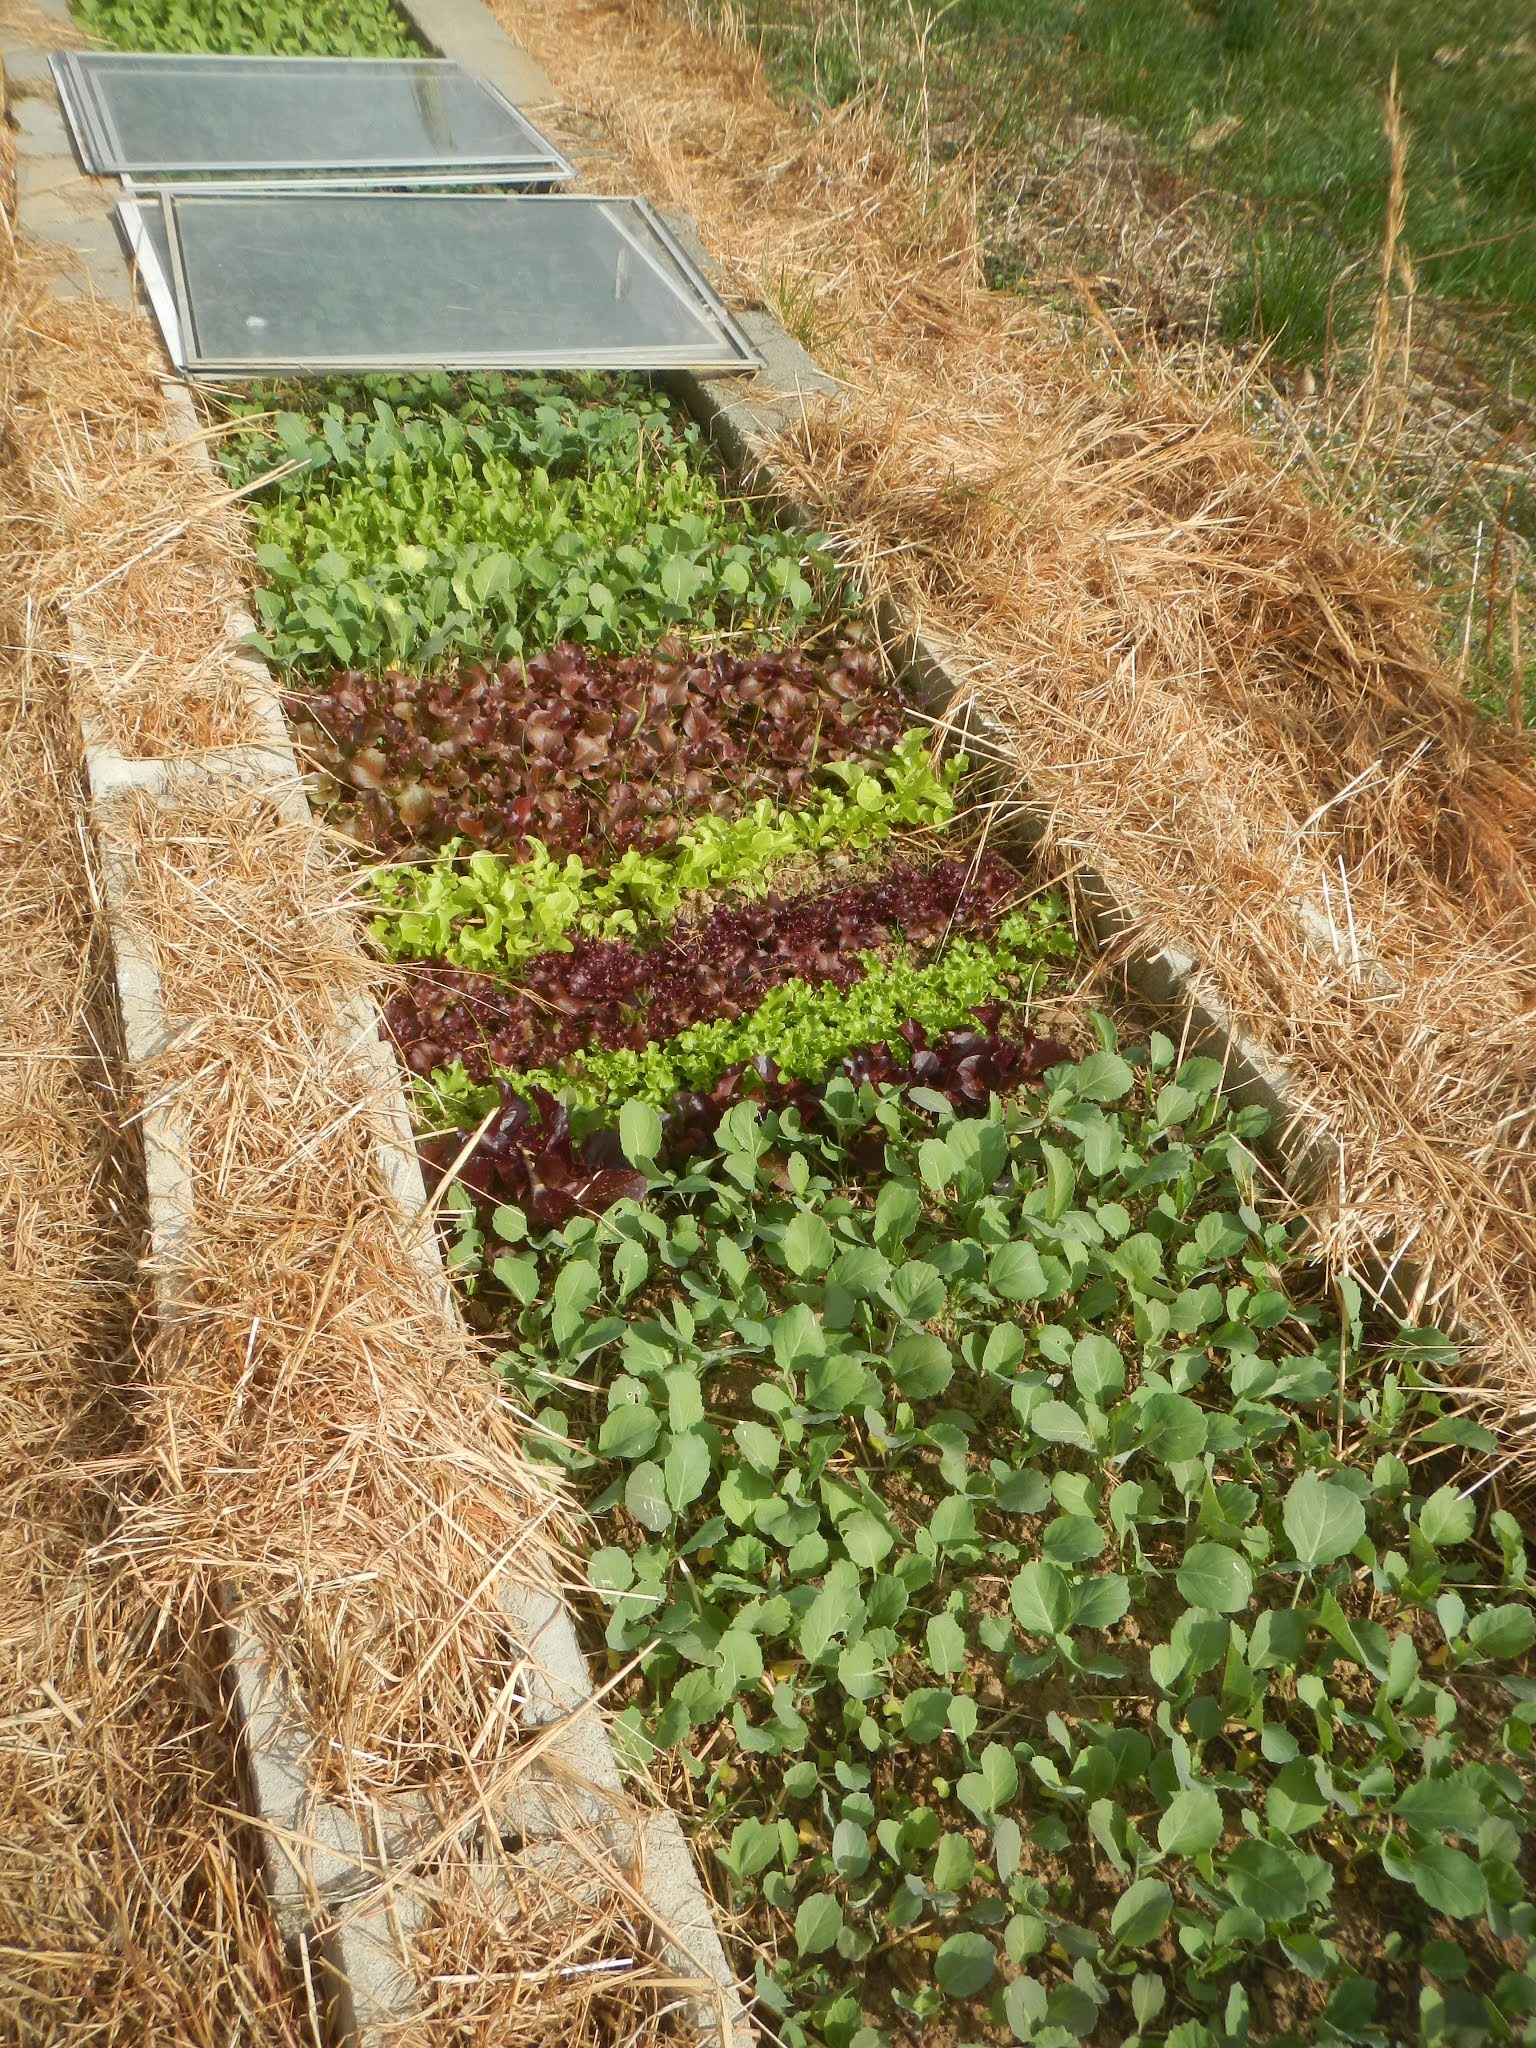
   After the plants in flats get big enough, we transplant the cold tolerant ones (like lettuce, cabbage, chard, etc.) into our nursery bed.  This is simply a temporary -- we move our nursery bed around from year to year --  cinder block raised bed in the garden.  Storm windows are taken on and off to provide extra heat as needed.  And on really cold nights, the beds are also covered with blankets.  We also direct seed the same crops into the nursery beds for a later succession of plants.

  Once the plants are big enough, the plants are simply dug up bare root and moved to the garden.  The best part of nursery beds is that the plants can be held until they are needed.  And if it ends up we have more plants than we need, then the small leaves of some of the crops can be harvested for salad greens directly from the nursery bed.


  Another nursery bed that has worked really well for us is our onion bed.  Onion seeds are planted in the fall and the glass is kept on all winter (with special attention to make sure ice and snow don't break the glass.)  By mid-March, the onion plants are pencil sized and ready to be set out.  We also use a nursery bed like this to start our sweet potato plants, except we fill the whole bed with sawdust instead of planting into the soil.
 

  For less cold tolerant transplants, like tomatoes, peppers, eggplant, and a miscellaneous overflow of other plants in flats and pots, we have a cold frame on the south side of our house.  On the coldest nights, we cover the glass with blankets.
  We're no experts on this and are still figuring things out, but this is an evolving system that we're using 17 years into our very small-scale but full-time farm.  It's a very low-cost, low energy system built largely around reused materials (storm windows, broken freezers, cinder blocks...) that we've mostly gotten through free stuff ads on the internet.


Monday, March 22, 2021

Pea tips


   Pea tips are just the most recent growth, including leaves, of pea plants.  They taste similar to actual peas.  We normally eat them raw, sometimes mixed with other salad greens.

Roasted sweet potato drink


   Did you know you can drink your sweet potatoes, too?  With a bit of processing, sweet potatoes can be made into a tasty locally grown hot drink.
  While any size sweet potato can be used, we use the very smallest ones that we might otherwise just consider goat food.
  First, we scrub and wash the potatoes really well.  There is no need to peel them, but we make sure they're clean.
  Next, we grate them by putting them through the grater on our food processor.
  Then we dehydrate them.  To make it worthwhile to run the dehydrator we often do large batches at a time.  We dry them until they are fully dry and brittle.
  Then we spread them thin on a cookie sheet and roast in the oven.  How long to roast depends on preference.  You can go for a light roast, a dark roast, or not roast them at all.  Just don't burn them.
  We then store them sealed in quart jars.
  To brew the roasted sweet potato drink, we boil about a pint of water in a small pot.  Using a mortar and pestle, we crush the dried sweet potato.  We add this to the pot of boiled water and let steep about 5 minutes.  Then we strain it through a small mesh sieve and it is ready to drink.  We especially enjoy it with cream and honey.